Wednesday, March 28, 2012
Quilling Flower Pattern Update
I’ve had such positive response over my previous “heart full o flowers” that I chose to do it again, but bigger to show off all the flower types. I used 2 strips of 11″ Bazzil scrapbook paper because it’s thick – I prefer to have a stronger “fence” as I filled in the elements. Here are some stages as I went along. I started at the bottom and just nestled some next to one another, seeing what fit in terms of size, color, and style. Loose scrolls would be added after to fill in some blank areas too small for flowers. The final size is about 5″ x 6″.
My previous PDF pattern included 5 card designs to be used as backgrounds and 1 envelope. I’ve decided to offer these printables for free on my blog. Download here. Your feedback keeps me going – thank you!
Monday, October 10, 2011
Tricked your Treat!
Who won the "What's inside the coffin contest?" No body. The answer is fish skeleton! Make no bones about it - I even put the answer in my Etsy listing! Please, no booing! Thank you all for playing! I had a screech :)
One more if you dare? Why couldn't Dracula's wife get to sleep? Because of his coffin.
Monday, October 3, 2011
Crouching Spider, Hidden Candy
OK so it wasn't hard to guess what was coming, but I hope you've enjoyed the unveiling of my die cut Halloween coffin boxes. This one has a spider web made of black vinyl hidden on the inside of the coffin's lid. A small length of fishing wire is attached to the spider so kids will get an extra hidden surprise as they reach for the goodies inside. I have always loved shiny black on matte, a subtle and entrancing effect.
Here are some of my prototypes. Can anyone guess what's inside? I'll give you a hint - it's white and emaciated. Please be very specific - only FULLY correct guesses will qualify.
I will email a free SVG or DXF spider file to anyone who guesses correctly by next Monday, Oct 10, 2011.
Sunday, October 2, 2011
Tuesday, August 30, 2011
Quilled Butterfly Keepsake Box / Card / Gift Tag
Friday, August 19, 2011
Butterfly Quilling Pattern / Tutorial
However since then I realized written instructions are slower to follow. Instead of writing out the measurements and instructions, I give diagrams - even where to glue and in what order. I hope this inspires you. I'd love to see what you make with my pattern, sold on Etsy for $5.
Thursday, August 11, 2011
Quilled Butterflies
I made these butterflies as a mock up for the book publisher’s presentation last year. Sadly, on its return to me, they did not use a very strong cardboard box and the push pins were squished into my lovingly crafted coils beyond recovery. They had asked me not to glue down to a surface, so they were obviously fragile. I had hoped to unveil photos of them in better shape, but c’est la vie.
They ranged from about an hour up to four hours to make. The monarch was the hardest to quill. I think it would have been easier if I could glue down the frame of the wings to prevent moving. Anyway, I hope they give you inspiration to make new designs – let me know how it goes!
Here’s a photo of the one I finally settled on showing how to make in the book (yes, a quilling tutorial pattern is coming soon).
Monday, March 21, 2011
Silhouette Pen Comparison
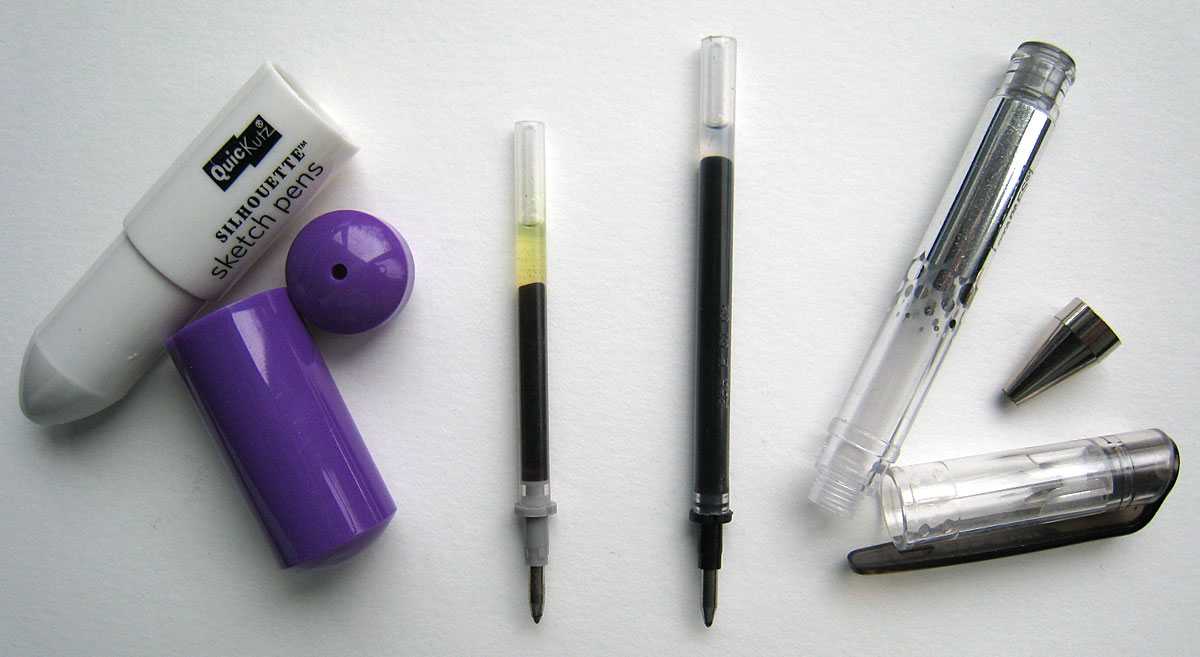
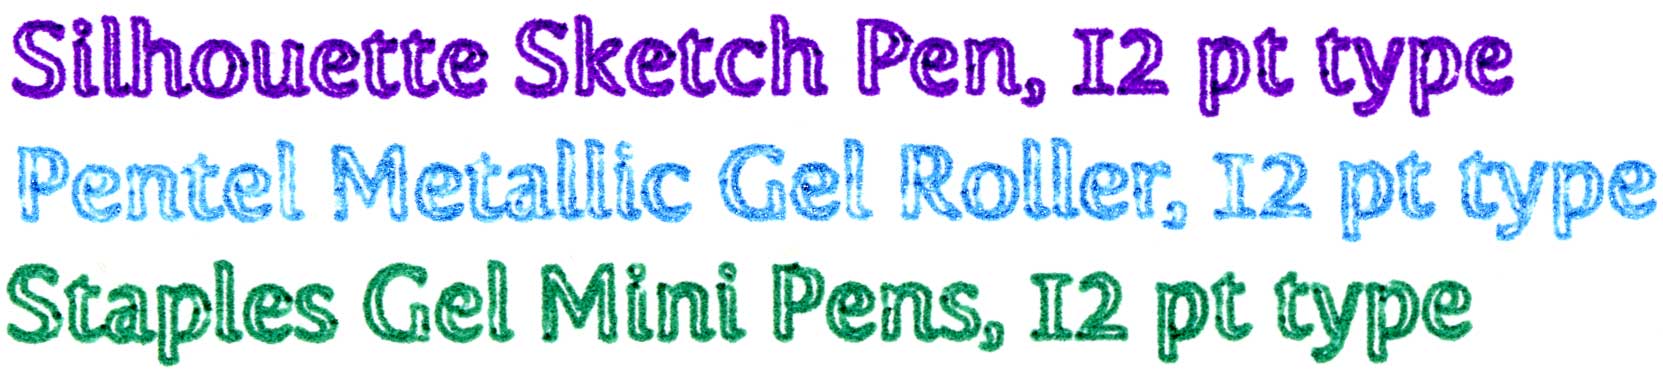
I took Staples and Silhouette pens apart and realized the Staples pen length was longer, but other than that it was about the same as Silhouette's pens. So I stuck the cap on top and taped the whole thing to prevent it from moving. After my Silhouette pens run out, perhaps I'll just cut down the Staples length and that will be my instant refill.
Here are the comparisons of all 3. Just click on the thumbnails to see a good enlargement of the details.
Tuesday, February 15, 2011
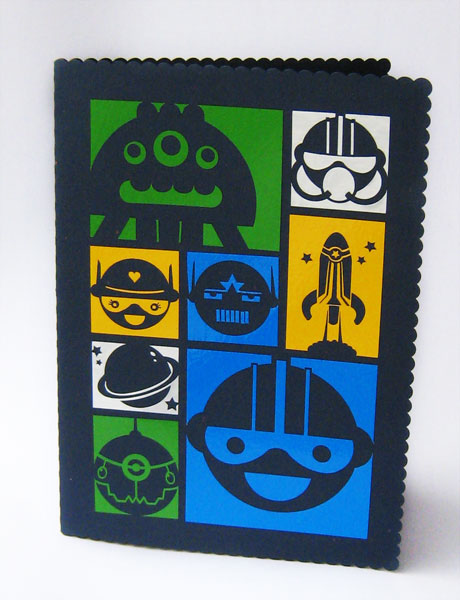
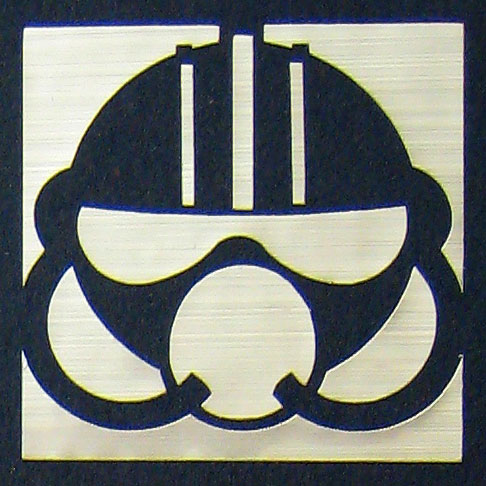
Transformer Birthday Card (Vinyl)
Wednesday, January 26, 2011
DIY Soccer Jersey Placecard
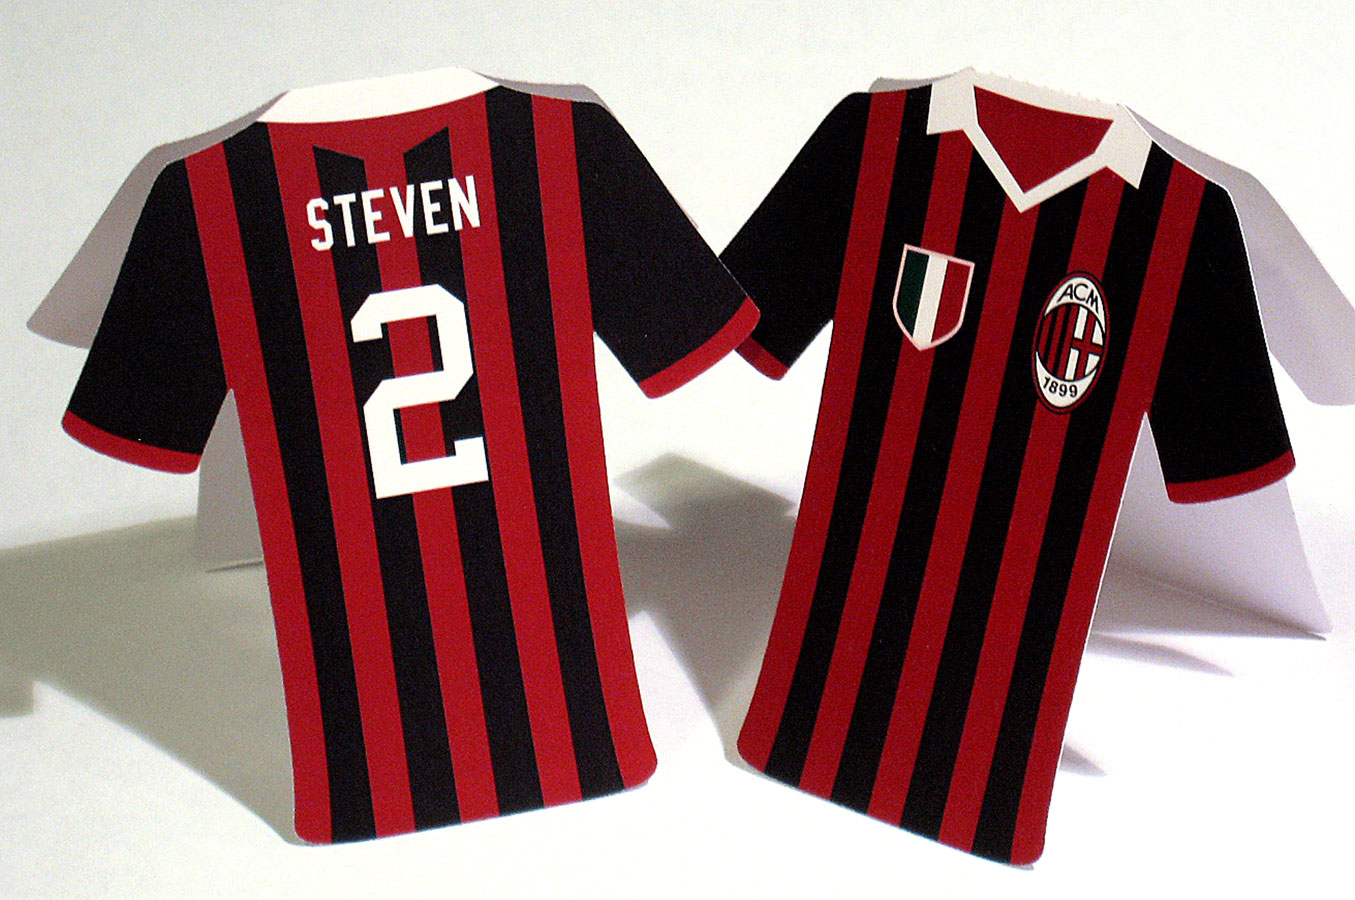
Since blogging about the soccer themed place cards made for my nephew’s baptism, I’ve been asked about them numerous times. I used an electronic die cutter (Silhouette) to cut them out, but there’s no reason why it can’t be done by hand.
I’ve made a PDF with fillable name and number to print out. You can cut them by hand or use the SVG and DXF files on your electronic cutter. All 3 files can be downloaded here.
Please credit my blog and I’d love it if you could comment with a link to your blog or a photo of how your project looks. Your enthusiasm keeps me inspired!
Wednesday, January 12, 2011
Die Cut Jersey Place Cards
These place cards were cut in the shape of soccer jerseys, with each name and table number showing the guests their seating.
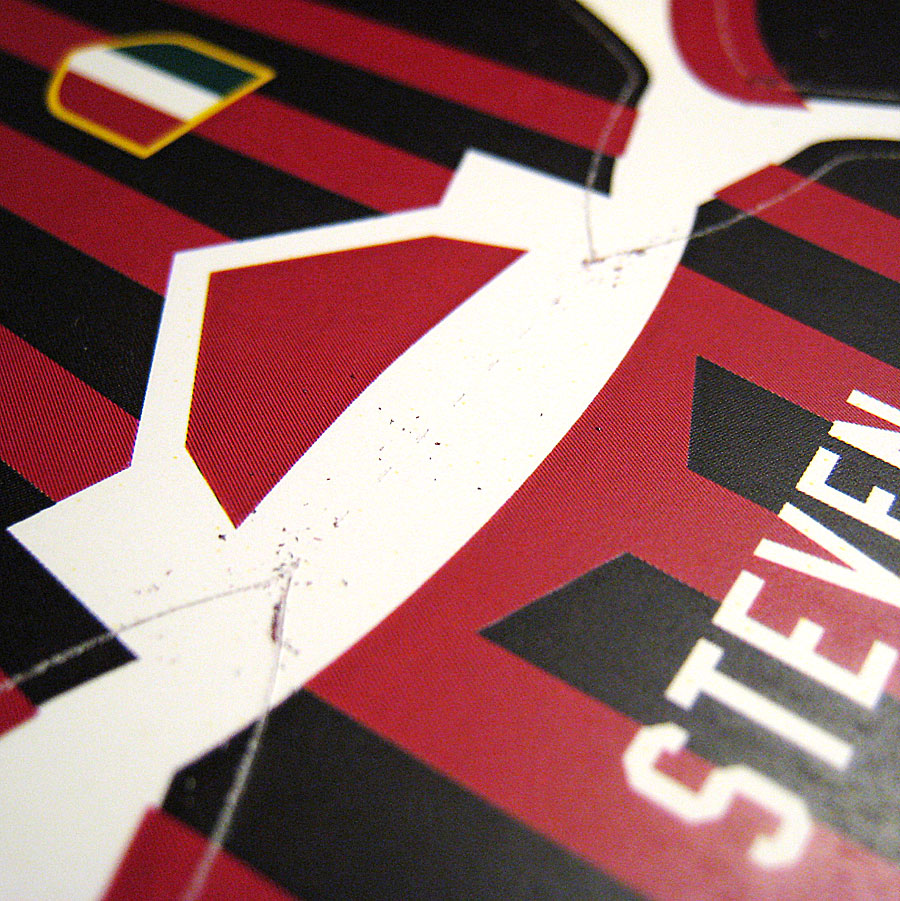
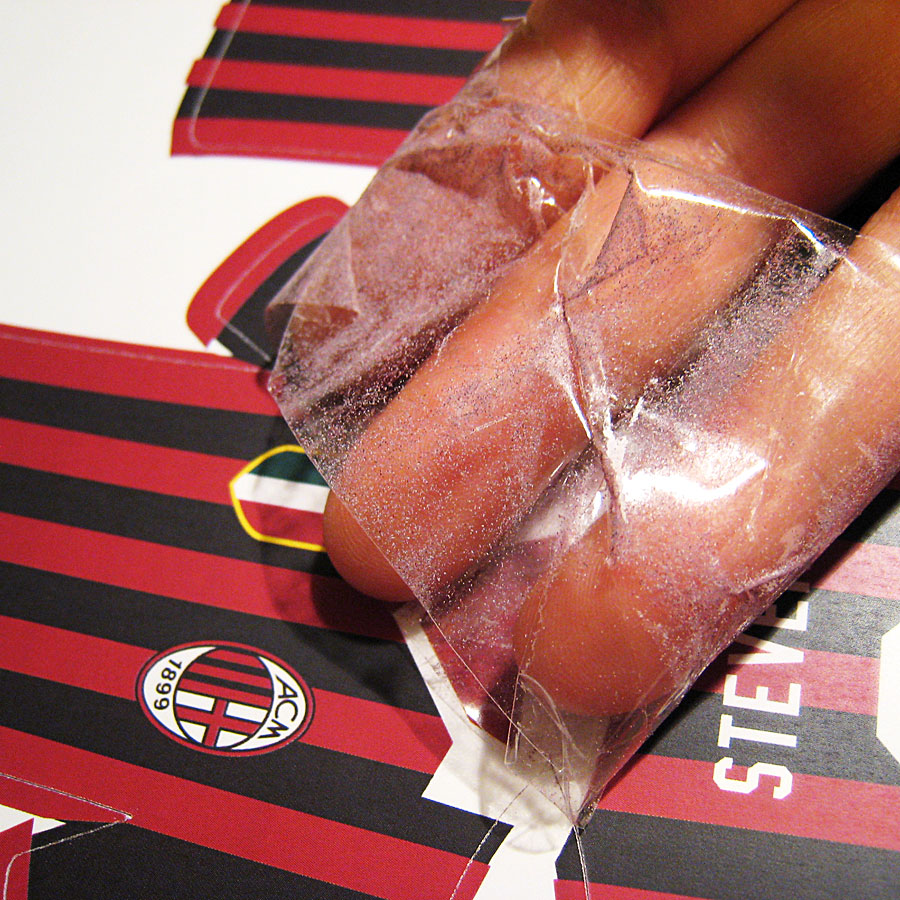
A hazard of printing all the way to the cutting edge on coated card stock is powdered toner flaking off. A nice way to pick up all the toner is to wrap packaging tape around your hand with the sticky side out. Gently skim the surface of your paper, picking up the toner before it has a chance to coat the adhesive mat of your die cutter, thereby ruining future adhesion. Note to self: leave a white margin next time!
If you’d like to cut these jerseys, here's a link to download a zipped file containing fillable PDF (yes, it'll look just like the font you see here), SVG, and DXF files.
Tuesday, January 11, 2011
Ice Salt Shaker
Sunday, October 31, 2010
Gigi Cat Halloween Card in Vinyl
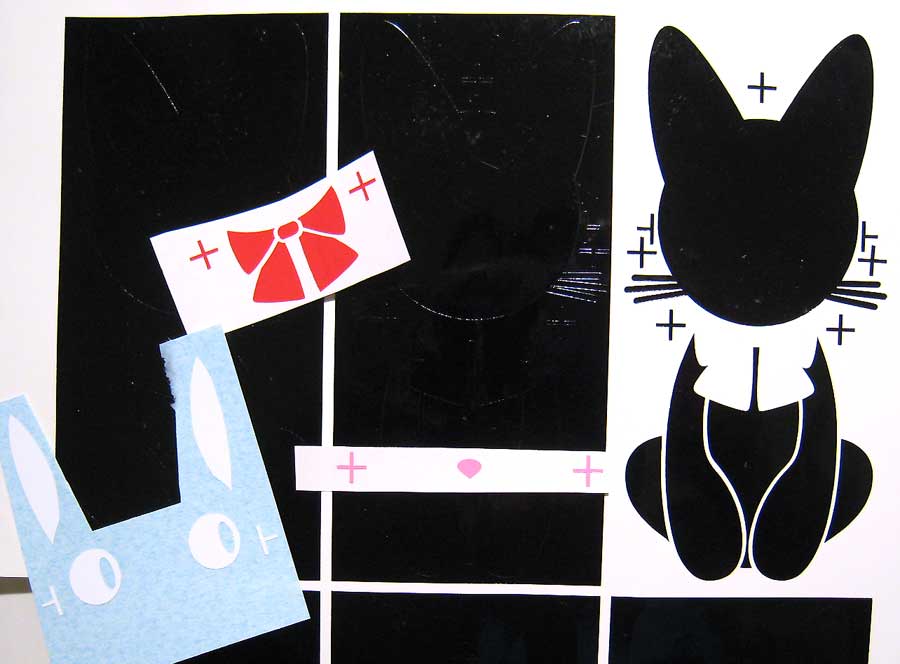
I loved the animation Kiki’s Delivery Service which featured a cat who had to pretend it was toy, and stay still even though a dog was nearby. In this scene only his eyes are warily moving which only made it funnier. I imagined it would make a great Halloween card with the inside greeting “Watch out! Halloween is coming!” Some readers have asked to see what the process is like to cut vinyl and assemble. In this case, since I made more than a few, it is best to cut many of the same shapes at the same time to save time and material (even though it’s reclaimed scraps of vinyl). The 110 lb weight of black card stock was purchased at Opus, an art supply store and cut down to 10×7, then folded to 5×7. The paper came with the deckled edge, which I thought was appropriate for a spooky feeling.
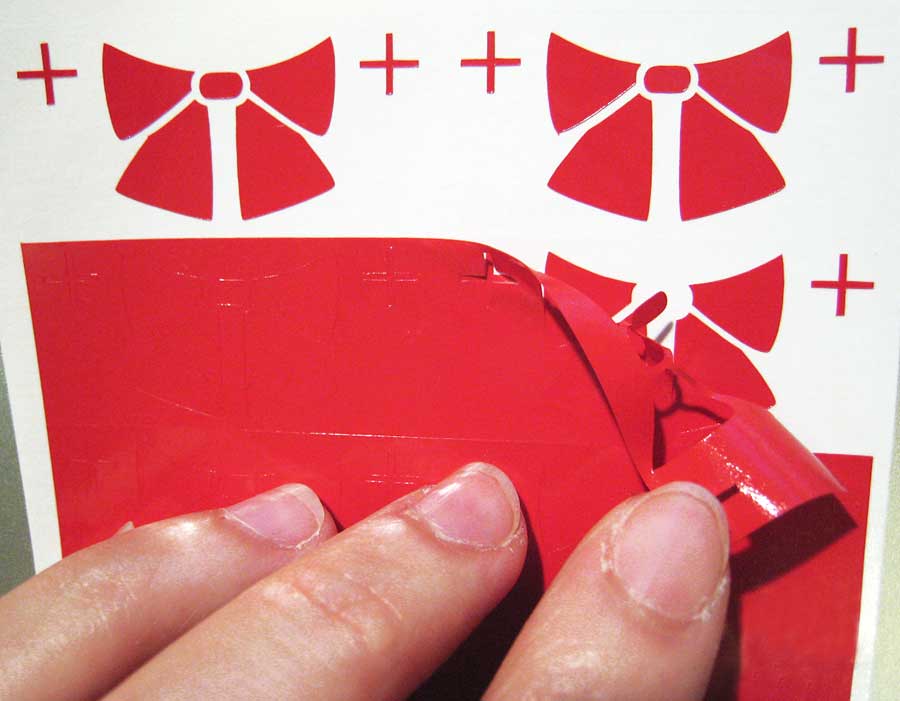
Red Bow: Small shapes like the circle in the middle of the bow get plucked up while removing unwanted areas.
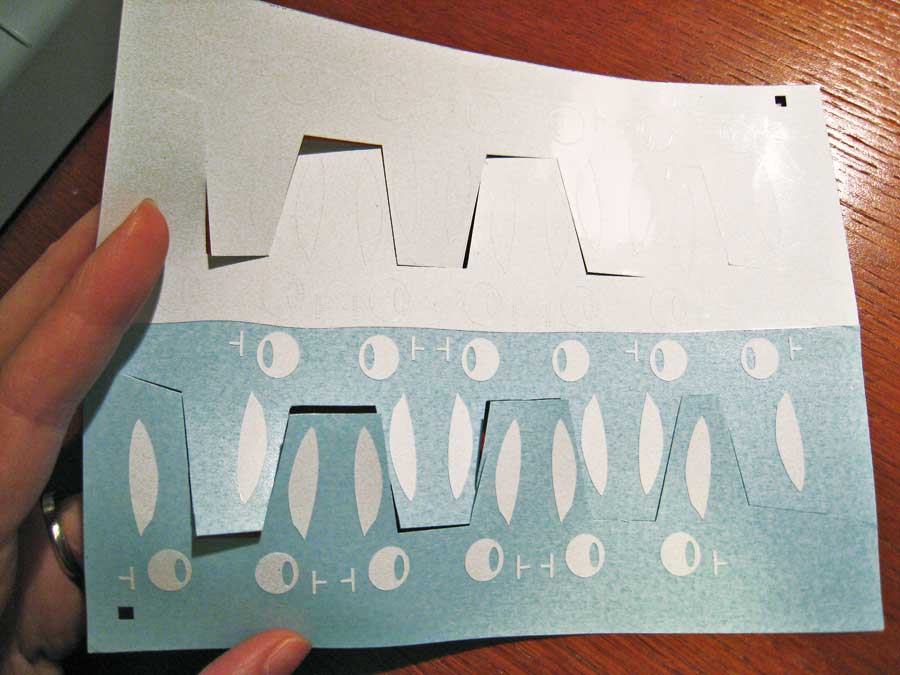
White Eyes/Ears: I flipped them upside down and amongst each other to again save material.
Body: The plus signs you see all over the place are registration marks. They help me align all these elements, which can be difficult to see through when using transfer tape. Transfer tape is like masking tape – less tacky, but tackier than the vinyl. After placing this tape on each element at a time, rub to pick up all elements, then put into position on the body, then remove transfer tape. The shiny black vinyl on matte black card stock is a wonderful effect, kind of like the Black Magic box of chocolates.
Monday, October 18, 2010
Birthday Cards in Vinyl
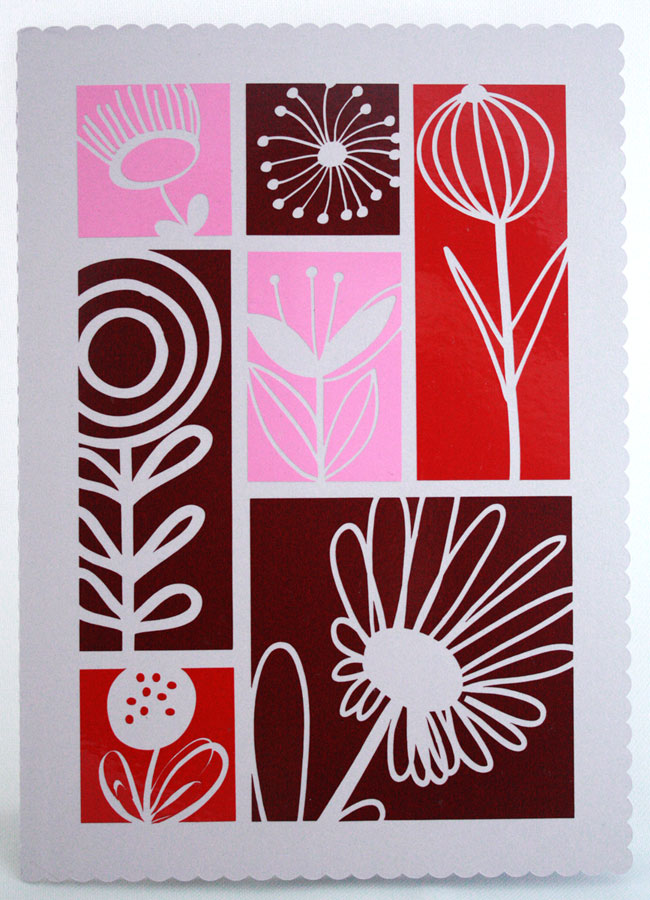
I used Adobe Illustrator to layout the elements, and Sillhouette/Craft Robo to cut vinyl, then manually aligned as straight as possible. The vector illustrations are free and found via these links: Lovely Flowers / Happy Space Pack
Monday, October 4, 2010
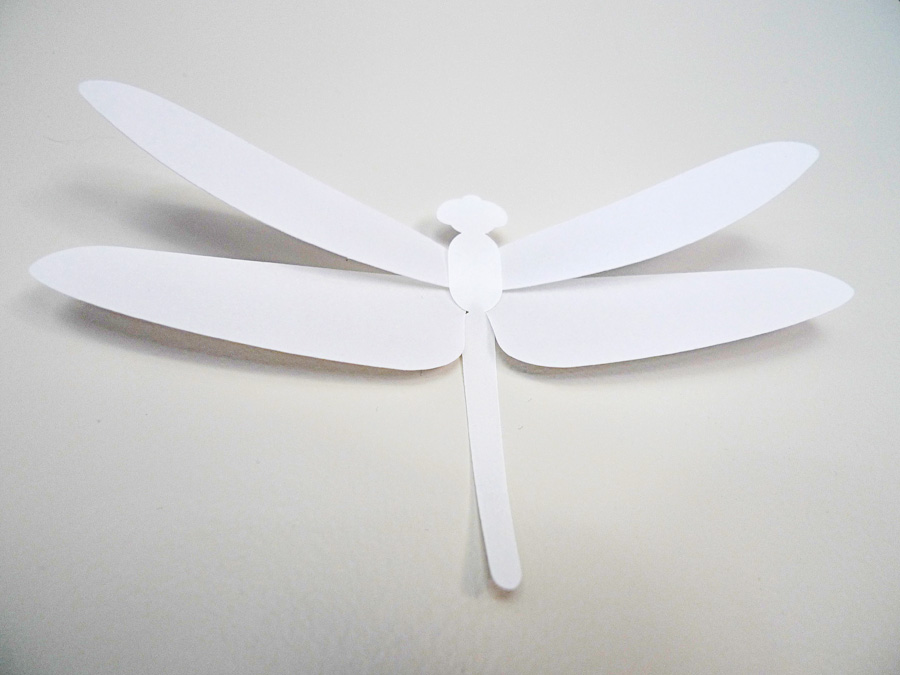
Die Cut Dragonflies
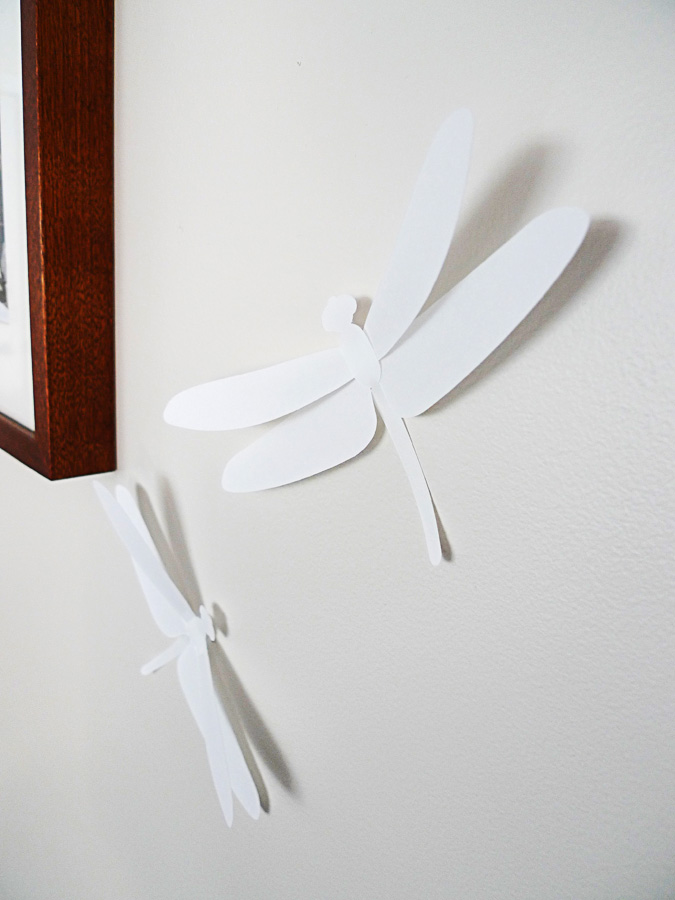
I envisioned a dragonfly cut from translucent paper to allow light to pass through the wings. The wings are supported by a base to give it varying heights. The body is glued on top and the tail is slight curved, which hubby assures me is more realistic (he knows from catching enough of them). I wonder if it would make a nice mobile or wall art – fragile though.