Showing posts with label greeting card. Show all posts

Tuesday, August 30, 2011

Quilled Butterfly Keepsake Box / Card / Gift Tag

Found this keepsake box at Daiso for $2. It's covered with a diamond patterned paper. 


The embossing is subtle enough to accept quilling pieces easily.

Strathmore blank cards are my favorite type to glue finished quilled pieces on because I like the contrast of having a textured paper as my background. The deckled edge also gives it a handmade quality versus having the typical straight cut.

 The free background on this gift tag came from Shabby Princess, Spring Breeze theme. The font is called Fling. After hole punching the tag, I threaded the two ends of a tied bow through, which allows the bow to sit front and center and the ends are free to be tied any which way behind.

A huge thank you to Nancy Babb for helping me edit my latest butterfly quilling tutorial PDF. Having her insight made the "how to" instructions easier to follow. 

I thank everyone for their input and helping me improve. Your comments on this blog encourage me to keep doing what I love.

Sunday, October 31, 2010

Gigi Cat Halloween Card in Vinyl

I loved the animation Kiki’s Delivery Service which featured a cat who had to pretend it was toy, and stay still even though a dog was nearby. In this scene only his eyes are warily moving which only made it funnier. I imagined it would make a great Halloween card with the inside greeting “Watch out! Halloween is coming!” Some readers have asked to see what the process is like to cut vinyl and assemble. In this case, since I made more than a few, it is best to cut many of the same shapes at the same time to save time and material (even though it’s reclaimed scraps of vinyl).

The 110 lb weight of black card stock was purchased at Opus, an art supply store and cut down to 10×7, then folded to 5×7. The paper came with the deckled edge, which I thought was appropriate for a spooky feeling.

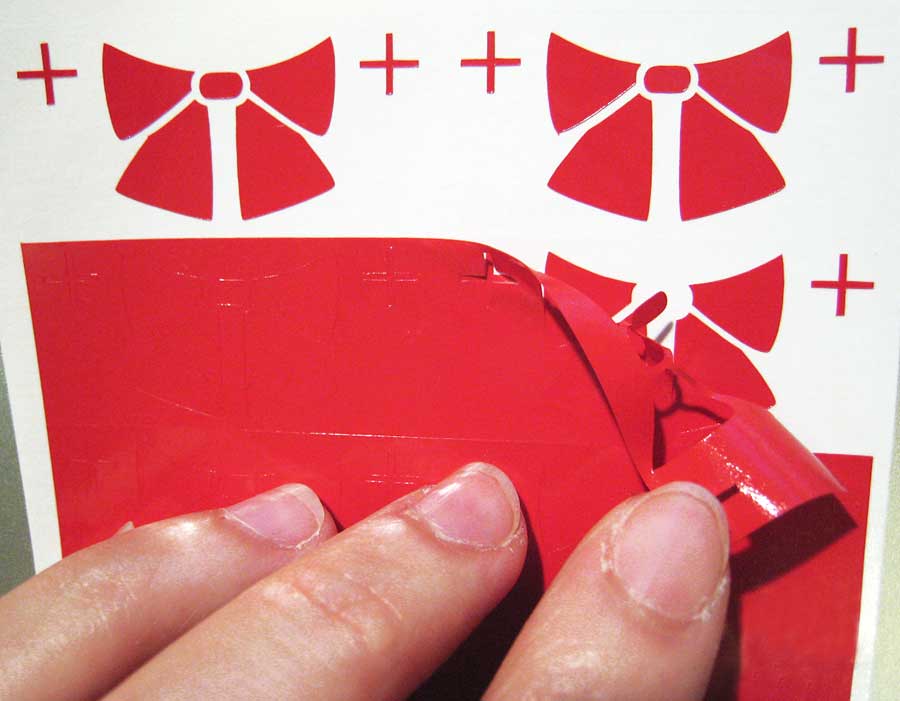
Red Bow: Small shapes like the circle in the middle of the bow get plucked up while removing unwanted areas.

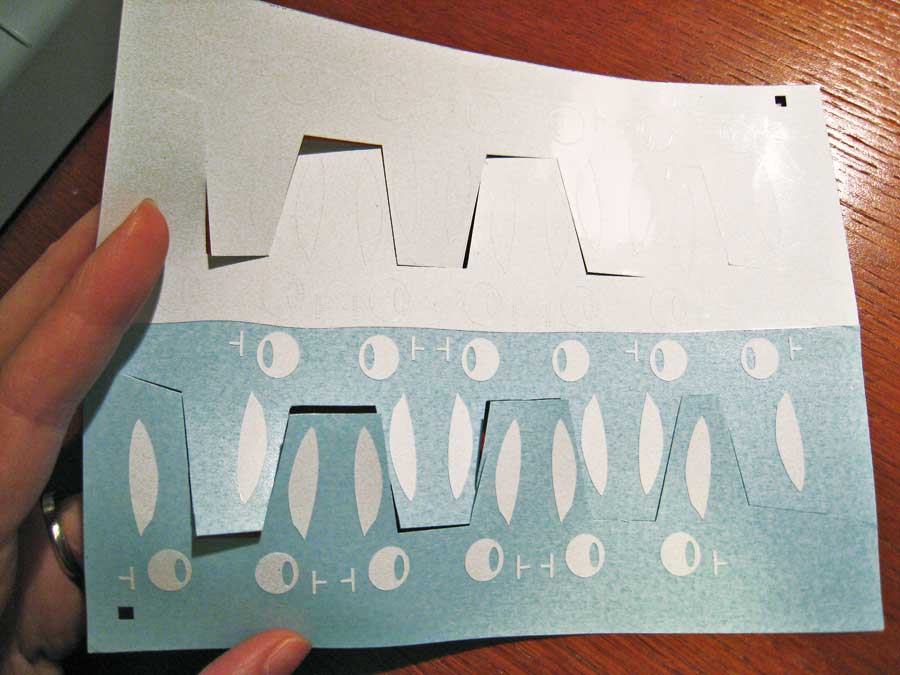
White Eyes/Ears: I flipped them upside down and amongst each other to again save material.

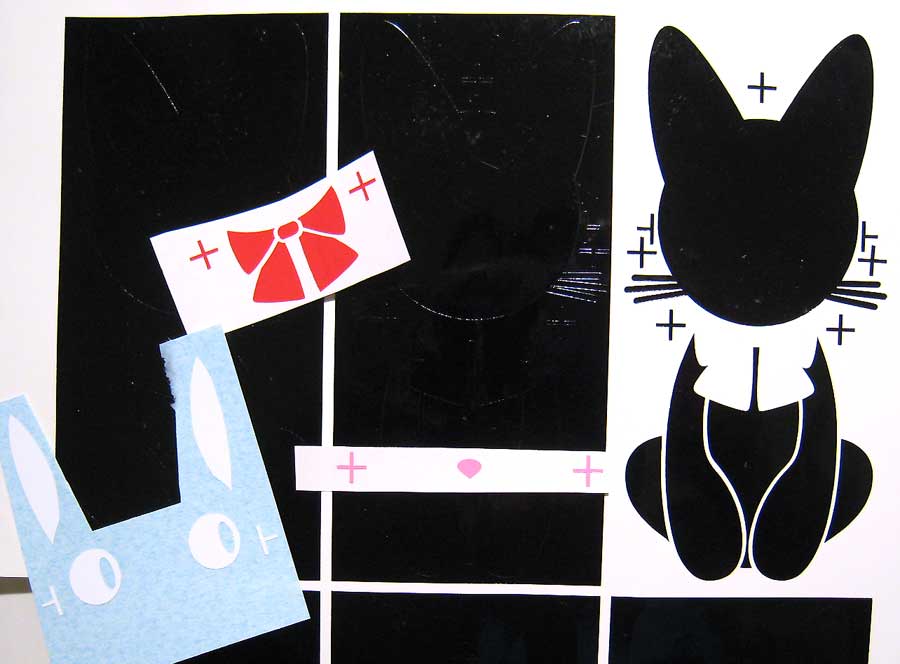
Body: The plus signs you see all over the place are registration marks. They help me align all these elements, which can be difficult to see through when using transfer tape. Transfer tape is like masking tape – less tacky, but tackier than the vinyl. After placing this tape on each element at a time, rub to pick up all elements, then put into position on the body, then remove transfer tape. The shiny black vinyl on matte black card stock is a wonderful effect, kind of like the Black Magic box of chocolates.