Showing posts with label Wedding. Show all posts

Saturday, July 13, 2013

Damask Chair Party Favor Box


Although I'm more of a tomboy than a girly-girl, I did save every wedding party favor as a little girl, dreaming of the day I would marry my sweetheart. I don't know why I have such a thing for boxes, but I do love how it's hiding a small surprise. The ones I love most serve double purpose, whether to be decorative or in this case, to show a guest to their seat.


I used a heavyweight vellum which allows the damask pattern to be seen yet not obstruct the guest's name. A square tag is glued to the front, with a couple's special day and message.


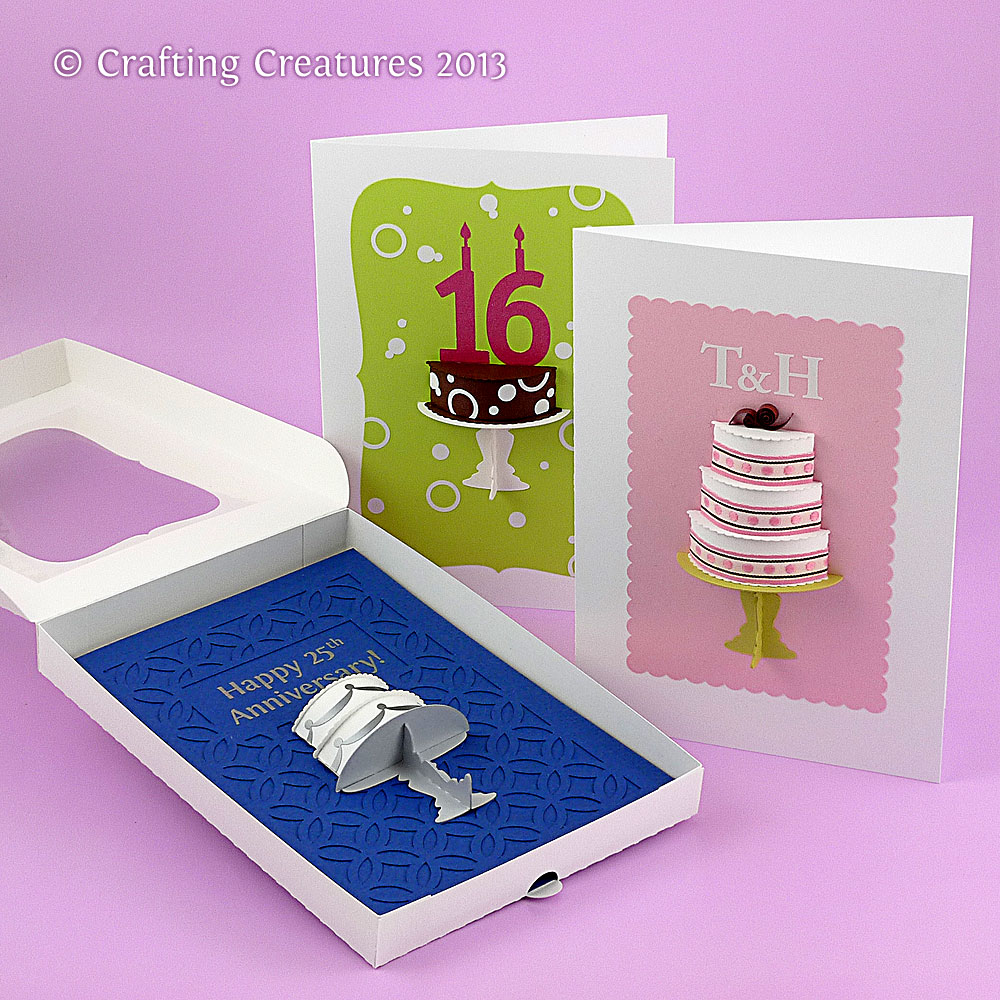
The 1.75" cube has a chair backing that is 4.25" tall. Two boxes can be cut from a single sheet of 11 x 8.5" paper. In this example I've used Silver Stardream cardstock. The font used here is Great Vibes.


Damask patterns have always been used in classic decor in such a broad range, and I struggled for quite some time to have the design be strong enough to hold the name tag. I also think it looks just as complete without the name tag, so it's perfect for occasions other than weddings.

My Damask Chair Box is now available in my Etsy store for instant download. I've saved the files in SVG, DXF, MTC, and PDF formats. Thanks so much for your kind comments!


Wednesday, April 24, 2013

Wedding Cake Card by Kelly


I'm not a bling personality, but I have to say this wedding cake card by Kelly, (findingtimetocreate.blogspot.ca) got my attention. It says everything a bride wants their special day to say, an event to remember for all time.

Although the background is neutral and allows the flowers to take center stage, the glitter makes a splashy show all on its own.


Kelly explains in great detail how she made this 3D cake card with glitter and what materials she had to change up to make it work. I love how she explains things so thoroughly, like all her posts on her blog.

Thanks, Kelly, for generously allowing me to show your card on my blog!

Cecelia

Wednesday, March 27, 2013

3D Cake by Michelle and Kelly


I simply love seeing my designs come to life in another person's hands. It's wonderful to see the same cut file used in different colors and texture than I imagined.

The first card is made by Michelle of Michelle My Belle Creations. It seems so obvious now that the flowers she used was such an ideal choice. I also like the bling she added using sequins in the upper parts of the swoosh.

The second card is by Krafting Kelly of Finding Time to Create. Ah, these are the times I wish I had a ready supply of scrapbook paper in my shelf. I love how she placed the initial right on top of the cake - like one of those special candles. Again - why didn't I think of that?

Thank you for playing with my files, Michelle and Kelly!

Tuesday, March 19, 2013

3D Cake Collection

I'm quite excited to offer these 3D paper cakes, easily customizable for a birthday, wedding, or anniversary in my store.


Here's an example of a single layer chocolate cake with white circles icing (I used white vinyl). I've seen many examples of polka dotted icing on cakes, and thought it would great to have a matching background.


Add a second layer of cake on top and some swooshes to make a classic celebratory statement. I designed a subtle backdrop pattern made of diamonds and left a blank plaque above for whatever occasion you need. 

My favorite has to be the 3-tier cake. Somehow the more tiers it has, the more fun it is. I decorated it with ribbon and matched the background using a scalloped edge. The chocolate shavings on top were made of quilling paper, but you can just as easily use any brown paper with 1/8" width.
What cake would be complete without a cake box? I used some scrap plastic left over from some packaging and glued it with Scotch Quick Dry glue. I also added some easy-open tabs so you won't have to struggle prying open a well-fitted box. All the cards are 5x7 inches.
Michelle of MichelleMyBelle Creations made an awesome purple cake with flowers, sequins, and textured backgrounds. I like how she added a bow to the stand which makes it more dimensional.

Please let me know what you think in the comments section!

Sunday, October 7, 2012

3D Cake Card

Here's an idea I've been toying with – a paper 3D cake. I love the feel ribbon instantly gives to cakes. The chocolate shavings screamed to be made out of quilling strips. The platter/stand is cut from metallic green card stock. I even made a cake box to protect it, since it'll get crushed in an envelope.
Each tier is made separately in case they need to be varying paper stocks representing different flavors. This 3-tier cake is obviously for a wedding, but take away the top 2 and there'll be more room for a message for birthdays or anniversaries.

Saturday, January 14, 2012

3D Paper Ball with Hearts and Arrows

Beware of Cupid’s shooting arrows! It was a great discovery my first time to use an ink pad on the edges of my paper ball decorations to add dimension. I realized dragging the ink pad across the arrow would make it appear as if Cupid had just let it fly, especially when it caught on the edges.

Version 1 is easy to put together since it’s a single sheet of paper. Simply use beading wire, fishing line, or string to thread from the bottom hole, then thread each arc at the top. A rolled paper straw in the middle keeps the ball fully inflated. A scalloped circle finishes the top and bottom and the beads are optional. Version 2 allows you to combine two different papers, of course.

Part 4 of upcoming Valentine collection on Etsy.

Wednesday, January 11, 2012

Yin Yang Valentine Card


I originally designed this card as a wedding invitation for dear friends. I wanted to give a subtle nod to their Asian background.

The interlocking Yin Yang design with Japanese flower motif opens up to reveal two interlocking hearts and a message for your Valentine. Overlapping two different colors of paper allows you to customize this card for weddings or anniversaries as well.

Part 3 of my Valentine collection, soon to be released on Etsy.

Saturday, January 7, 2012

Valentine Hearts Gift Box


Classic cube with overlapping scallop-edged hearts. Simple and quick to make, this box can also be used for weddings or anniversaries. Who says Valentine's Day is just one day of the year?

Part 2 of upcoming Valentine's Day collection, soon to be offered on my Etsy store.

Friday, March 25, 2011

Guest Post on The Creative Place


I was so inspired by Ashley's blog, The Creative Place, a treasure chest of DIY ideas. By coincidence I noticed her call for guest post submissions and decided to make and submit DIY instructions for my wedding party favor. My humble thanks, Ashley!

Tuesday, January 25, 2011

DIY Party Favor


Finally edited the remaining photos from our nephew’s soccer themed baptism. The party favor shape is akin to a tetra pak. I remember savoring hickory smoked almonds on an airplane and the wedge shape has always stuck in my head because of it’s minimalism. It uses the least amount of paper, provides maximum amount of volume, yet requires the least amount of effort to make by hand. There are no tabs to cut as for boxes, the shape is very pleasing and unusual, and provides a nice surface for a message.

I bought my translucent vellum at Opus on Granville Island: .50/sheet (discount over 10 sheets), at 48lb. Other options I considered were:

  • DeSerres: $8.95 at 32 Text weight (too thin)
  • Avalon Stationary: .70/each, 80lb Cover weight (too thick)
  • Coast Paper Cash and Carry: minimum $25 (too much stock left over)


To make the tetra pak:

  1. Cut a sheet of 8.5″x11″ into quarters. Wrap the length around an empty toilet paper roll to help you line up the edges, and use double sided tape or glue to adhere the overlap.
  2. Pinch the top opening.
  3. Adhere one end of the tube.
  4. Pinch the other opening in a perpendicular direction.
  5. Fold over edge.
  6. Use a 1/8″ hole punch in the middle for a ribbon.


I've just discovered The DIY Club and hope readers there will enjoy this project. Check it out!


    Tuesday, June 22, 2010

    Quilled Wedding Cake

    Micahael’s sells extremely thick quilling strips that normally fray on me when quilling small tight details – they make excellent borders though. I first started glueing the 3 tiers of cake together and pinned them to cork to prevent shifting, then filled the inside with frosting – with a hidden heart in the bottom tier of course.

    Measurements:
    • top tier: 6 cm (fold at 1.5 x 3 x 1.5 cm)
    • middle: 9 cm (fold at 2 x 5 x 2 cm)
    • bottom: 9 cm (fold at 2.5 x 7 x 2.5 cm)
    • card: 5×7 inches

    Wednesday, June 9, 2010

    Pop Up Pear Wedding Card

    She loves to garden and give pop-up cards, so what better way to express a well matched pair on their wedding day? I was thrilled to find just the right speckly paper to convey the freckles found on asian pears. Paper used:

    Pears: Fox Paper, Circa Select, Concrete, 80 lb Cover
    Card: Curious Iridescents, 89 lb Cover
    Text: Self Adhesive Vinyl, Dark Red, Metallic Gold

    Thursday, August 6, 2009

    Martha DIY Wedding


    Martha Stewart is accepting submissions for DIY handmade wedding day details until Sept 1, 2009.

    I’ve kept our wedding party favours and still enjoy looking at it and remembering our day. Folding 365 paper stars as a gift for your loved one shows you think of them every day of the year. After printing an image of stars on vellum, we rolled them around empty toilet paper tubes, glued the edges, then crimped the tube ends in opposite directions. Filled with chocolate and stars, we thanked our guests for sharing our day.

    Friday, August 15, 2008

    Wedding Card: Quilled Elephants

    Inspired by henna designs from his culture and their honeymoon destination, Thailand, home of her beloved elephants.

    Wedding Card: Quilled Elephants

    Inspired by henna designs from his culture and their honeymoon destination, Thailand, the home of her beloved elephants.

    Thursday, July 17, 2008

    Wednesday, May 21, 2008

    Congrats, Joy & David


    It was my latest triumph in paper quilling a heart. My inspiration was beautiful piping on a wedding cake. I was naive enough to believe my cat appreciated it as much as I did, since she watched me put all the pieces together. I guess I didn’t realize how much she liked it, as it became her new toy when I turned my back. My husband saved most of it and I didn’t look carefully enough before glueing it down to the card – permanently. I’ll just have to remind the newlyweds on the part about “through good times and bad…